


")


Bubble waffles with ice cream sell for the same reason boba sells: they’re built for photos, cravings, and impulse add-ons.
But they only stay profitable if you can make them fast, consistently, and safely—without turning your counter into a sticky mess or your staff into short-order cooks.
This guide is a practical shop SOP (standard operating procedure) you can hand to your team. It’s written for US bubble tea shops that want a dessert add-on that:
(Secondary keyword note: if you’re looking for a “bubble waffle recipe for business,” this SOP is designed for commercial speed and consistency—not just home cooking.)
feels premium
can run during rush
doesn’t destroy your quality standards
handles allergy questions responsibly
What you’re actually selling (so you can price it right)
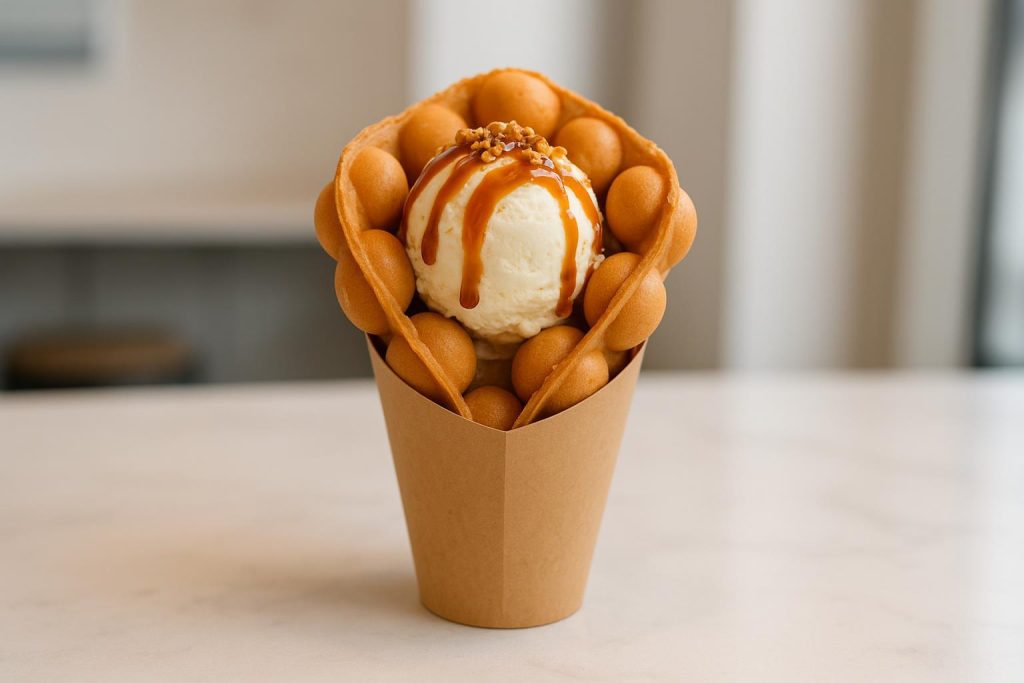
A bubble waffle (also called a Hong Kong egg waffle) is an eggy, sweet waffle cooked in a special mold that creates “bubbles.” It’s typically served hot, then folded into a cone and filled with ice cream and toppings.
In the US, customers read it as a street-food sundae—a warm base + cold ice cream + crunchy toppings + sauce. That “stacked texture” is what makes it easy to upsell.
If you want the history/definition for staff training, see the background on the egg waffle (updated 2026).
Step 0: Set your success criteria (before you buy anything)
Before you add bubble waffles, pick 3 operational targets. If you can’t hit these, it won’t feel like a “simple add-on”—it’ll feel like a second kitchen.
Recommended targets for a boba shop:
Ticket time: 3–4 minutes from order to handoff (with one waffle station)
Waste: <5% of waffles tossed per day (burnt, stuck, broken)
Consistency: staff can hit a “golden + crisp shell” outcome after one training shift
Pro Tip: If your peak line is already tight, run waffles as a limited-time window (e.g., 2pm–8pm) for the first two weeks. You’ll learn faster with fewer variables.
Bubble waffle with ice cream SOP: Equipment + station setup
What you need (and what you don’t)
Step 1: Equipment + station setup (what you need, what you don’t)
Minimum equipment list
You don’t need a full dessert bar—but you do need a clean, repeatable setup.
Bubble waffle maker (electric is easier for consistency)
Scale (for batter batches)
Spouted pitcher(s) or a portion dispenser (for consistent dosing)
Timer (don’t rely on “vibes” during rush)
Tongs or thin silicone spatula (for release)
Cooling rack (yes, even for a hot dessert)
Paper cones/bags designed for waffles + a napkin strategy
Ice cream dipper + rinse setup (more on this below)
The station layout that keeps you fast
Set up left-to-right (or right-to-left) so your staff isn’t crossing hands:
Batter pitcher in cold well / fridge pull
Waffle maker
Cooling rack (30–60 seconds)
Cone/bag
Ice cream + toppings
Handoff
Why the cooling rack matters: a waffle that goes straight from iron → ice cream traps steam. Steam = condensation. Condensation = soggy.
Step 2: The batter SOP (batching, resting, storage)
Batch size recommendation
Start with a small batch you can burn through quickly so you’re not storing raw egg batter all day.
Starter batch: enough for ~20–30 waffles
Re-batch cadence: every 2–4 hours depending on demand
This balances freshness, safety, and consistency.
A reliable base batter (shop-friendly)
This is a practical starting point. You’ll still tune it to your specific machine.
Dry
flour (all-purpose or cake flour)
baking powder
small amount of starch (tapioca or cornstarch) to support crispness
Wet
eggs
sugar
milk (often evaporated milk is used for flavor)
neutral oil
water (to hit the right batter flow)
vanilla (optional)
For a representative method and ratios, use a reputable reference like Christine’s Hong Kong-style egg waffle method (updated 2026), then adjust for your equipment and output goals.
Mixing protocol (the “don’t ruin your texture” rules)
Mix dry ingredients thoroughly.
Mix wet ingredients separately.
Combine wet + dry.
Mix just until combined. Some small lumps are fine.
Overmixing is the fastest way to create tough waffles—especially if you’re scaling up.
Batter rest + storage
Rest: 30–60 minutes (covered) in the fridge.
Hold: keep cold; use within the same day for best quality.
This rest time lets the starch hydrate and makes the batter behave more predictably on the iron.
⚠️ Warning: Batter contains raw egg and dairy. Keep it out of room temperature holding. Use your local food code + manager training rules.
For general safe-handling basics, the FDA’s Safe Food Handling guidance (updated 2026) is a good baseline reference.
Step 3: Cooking SOP (temperature, timing, dosing, and “done when…”)
Preheat and “first waffle” calibration
Fully preheat your iron before service.
Make 1 test waffle at the start of shift.
Done when: the waffle releases cleanly and hits a golden-brown shell without burning edges.
Dosing (consistency beats creativity)
Your biggest quality swings usually come from inconsistent batter dosing.
Pick a standard dose (by ml or by weight) and train it.
Use a spouted pitcher or portion tool.
Done when: bubbles are fully formed, edges aren’t overflowing, and color is even.
Timing cues (what staff should watch)
Use a timer—but also teach the sensory cues:
steam slows down
sizzling sound drops
waffle releases easier
color shifts to a consistent golden tone
Release and handling
Remove promptly.
Don’t let it cool inside the iron.
Done when: waffle comes out intact, with no tearing at the hinge or edges.
Common failures + fast fixes
Problem: waffle sticks
Likely causes:
residue buildup
uneven oiling
iron not hot enough
Fix:
clean the plates according to manufacturer rules
apply a light oiling method consistently
re-check preheat
Problem: waffles go pale and soft
Likely causes:
undercooked
iron not fully recovered between waffles
Fix:
add time in small increments
slow the line for 2 minutes so the iron stabilizes
Problem: waffles go soggy fast
Likely causes:
steam trapped in packaging
long hold time
Fix:
brief rack cool (30–60 seconds)
vented packaging or a paper cone that breathes
assemble only when the ice cream is ready to scoop
Step 4: Holding + service flow (how to survive rush)
Bubble waffles are best served immediately. If you hold them too long, you lose the crisp shell—the part customers remember.
The “make ahead” approach that usually works
Do this:
cook to order
rest 30–60 seconds on a rack
fold and package
scoop ice cream last

Don’t do this:
stack waffles in a closed container (steam will soften everything)
scoop ice cream early “to save time” (it melts, drips, and ruins packaging)
Ice cream handling (simple rules that prevent problems)
Ice cream is highly sensitive to temperature abuse and cross-contamination.
keep it frozen until service
minimize time out of the freezer
don’t let the dipper become a warm, dirty tool
For straightforward time/temperature guidance, FoodSafety.gov has a useful explainer on keeping hot foods hot and cold foods cold (updated 2026).
A rush-proof assembly script (train this)
“Waffle down” (remove and rack)
“Cone ready” (paper cone/bag open)
“Scoop” (1–2 scoops max; portion control)
“Sauce + crunch” (two toppings max)
“Handoff + napkin”
Done when: the finished product is neat enough to photograph and stable enough to walk out the door.
Step 5: Allergy + cross-contact SOP (be transparent, don’t overpromise)
If you serve bubble waffles with ice cream, you’re automatically in allergy territory. The base batter commonly contains eggs, milk, and wheat, and the most popular toppings introduce peanuts/tree nuts, soy, and sesame.
The big rule
Unless you have dedicated equipment and separate storage/prep, do not claim “allergen-free.” Instead, be clear about what’s in the product and what cross-contact risk exists.
A helpful way to train staff is to use an allergen matrix format (see how major chains present it, like Cold Stone’s Food Allergies and Sensitivities guide, updated 2026).
Menu language that reduces risk (example)
Use plain language. Put this on your menu board or printed allergen sheet:
Contains: Milk, Egg, Wheat
May contain / made in a kitchen that also handles: Peanuts, Tree Nuts, Soy, Sesame
If you want an example of “busy kitchen + shared equipment” disclaimer language, see Bubbleology’s USA allergens guide (updated 2025) and adapt the concept to your shop.
Staff script (what to say when a customer asks)
Train your team to respond consistently:
Confirm the allergy: “Is it dairy, egg, wheat, nuts, or something else?”
State the known ingredients: “Our bubble waffle batter contains egg and wheat, and usually milk.”
State the reality of the kitchen: “We use shared equipment and can’t guarantee no cross-contact.”
Offer a safer alternative: “If that doesn’t work for you, we can recommend a drink with no toppings that share the waffle station.”
For patient-friendly allergy basics (helpful for manager training), FoodAllergy.org’s overview of egg allergy (2026) shows the kind of clear language customers understand.
⚠️ Warning: This article isn’t legal or medical advice. Use your local regulations and food safety training requirements. When in doubt, be conservative.
Step 6: Profit levers (how to make it a true add-on)
A bubble waffle dessert becomes profitable when you control:
portion size
topping count
speed of service
waste
Portion control that doesn’t feel cheap
default: 1 scoop (premium for 2)
default: 1 sauce + 1 crunch
Customers still perceive it as premium because the waffle itself is the showpiece.
Upsell toppings the boba customer already understands
Keep toppings aligned with your existing inventory so you’re not adding a new supply chain.
Use your existing “dessert drink” toppings as waffle finishes:
crunchy flakes
nuts (with allergen signage)
caramel-style drizzle
whipped/foam-style topping
If you want internal inspiration for topping combos that fit boba menus, skim BubbleTeaSuppliers.com’s New Drinks page and adapt the topping logic.
You can also borrow add-on thinking from bubble tea itself—this guide on popular bubble tea toppings maps well to “dessert add-on” design.
Bundle it (without making the POS messy)
Simple bundle logic:
“Add a bubble waffle sundae for $X”
“Waffle + milk tea combo”
Your POS should treat this as one modifier-driven item—not a custom build that staff has to “interpret.”
Next steps: make your first week easy
If you’re adding bubble waffles with ice cream to your menu, start with a tight, repeatable build:
1 base batter
2 ice cream flavors
3 toppings
Run it for 7–10 days, then expand.
If you want topping ideas that already fit bubble tea customer expectations, browse BubbleTeaSuppliers.com for dessert-style add-ons and foam toppings—starting points include their guides on how to make cheese foam and their add-on/topping resources.